
搜索了一下,目前要在手机端实现yolov5检测,找到了如下三种方式:
- tocrchscript方式,也就是目前本文采用的方式,参考链接:https://blog.csdn.net/djstavaV/article/details/118078013
- ncnn方式,参考链接:https://zhuanlan.zhihu.com/p/275989233?utm_source=qq https://zhuanlan.zhihu.com/p/400975662
- tf-lite方式,参考链接:https://github.com/zldrobit/yolov5
到目前为止,上面提到的三种方式,前两种已经测试完了,第二种没有成功。最终问题处在修改如下代码的地方:
// stride 16
{
    ncnn::Mat out;
    ex.extract("515", out);

    ncnn::Mat anchors(6);
    anchors[0] = 30.f;
    anchors[1] = 61.f;
    anchors[2] = 62.f;
    anchors[3] = 45.f;
    anchors[4] = 59.f;
    anchors[5] = 119.f;

    std::vector<Object> objects16;
    generate_proposals(anchors, 16, in_pad, out, prob_threshold, objects16);

    proposals.insert(proposals.end(), objects16.begin(), objects16.end());
}

// stride 32
{
    ncnn::Mat out;
    ex.extract("628", out);

    ncnn::Mat anchors(6);
    anchors[0] = 116.f;
    anchors[1] = 90.f;
    anchors[2] = 156.f;
    anchors[3] = 198.f;
    anchors[4] = 373.f;
    anchors[5] = 326.f;

    std::vector<Object> objects32;
    generate_proposals(anchors, 32, in_pad, out, prob_threshold, objects32);

    proposals.insert(proposals.end(), objects32.begin(), objects32.end());
}
原始的yolov5s.pt有三个output,但是我训练的模型由于是single class只有一个输出,所以没有搞明白这个地方该怎么修改。于是就卡住了,最终的检测效果目前不清楚好坏。
重新回到torchscript方式,这种方式相对来说比较简单,直接根据github https://github.com/pytorch/android-demo-app/tree/master/ObjectDetection里面的指导一步一步操作即可。需要注意的是最新版的yolov5中已经继承了export.py文件,但是不是在models目录下,而是在项目的根目录下。并且这个文件对于上面链接中提到的修改已经基本都修改过了,可以直接使用。如果导出有问题可以对比上文链接中的需要修改的地方进行修改。
1.导出torchscript模型,可以通过以下命令导出:
python export.py --weights weights/best.pt
或者修改export.py中的下面的代码,然后直接不带参数运行:
# 修改data weights参数
def parse_opt():
    parser = argparse.ArgumentParser()
    parser.add_argument('--data', type=str, default=ROOT / 'data/ads.yaml', help='dataset.yaml path')
    parser.add_argument('--weights', type=str, default=ROOT / 'best.pt', help='weights path')
    parser.add_argument('--imgsz', '--img', '--img-size', nargs='+', type=int, default=[640, 640], help='image (h, w)')
    parser.add_argument('--batch-size', type=int, default=16, help='batch size')
    parser.add_argument('--device', default='cpu', help='cuda device, i.e. 0 or 0,1,2,3 or cpu')
    parser.add_argument('--half', action='store_true', help='FP16 half-precision export')
    parser.add_argument('--inplace', action='store_true', help='set YOLOv5 Detect() inplace=True')
    parser.add_argument('--train', action='store_true', help='model.train() mode')
    parser.add_argument('--optimize',default=True, action='store_true', help='TorchScript: optimize for mobile')
    parser.add_argument('--int8', action='store_true', help='CoreML/TF INT8 quantization')
    parser.add_argument('--dynamic', action='store_true', help='ONNX/TF: dynamic axes')
    parser.add_argument('--simplify', action='store_true', help='ONNX: simplify model')
    parser.add_argument('--opset', type=int, default=13, help='ONNX: opset version')
    parser.add_argument('--topk-per-class', type=int, default=100, help='TF.js NMS: topk per class to keep')
    parser.add_argument('--topk-all', type=int, default=100, help='TF.js NMS: topk for all classes to keep')
    parser.add_argument('--iou-thres', type=float, default=0.45, help='TF.js NMS: IoU threshold')
    parser.add_argument('--conf-thres', type=float, default=0.25, help='TF.js NMS: confidence threshold')
    parser.add_argument('--include', nargs='+',
                        default=['torchscript', 'onnx'],
                        help='available formats are (torchscript, onnx, coreml, saved_model, pb, tflite, tfjs)')
    opt = parser.parse_args()
    print_args(FILE.stem, opt)
    return opt

导出之后的文件:
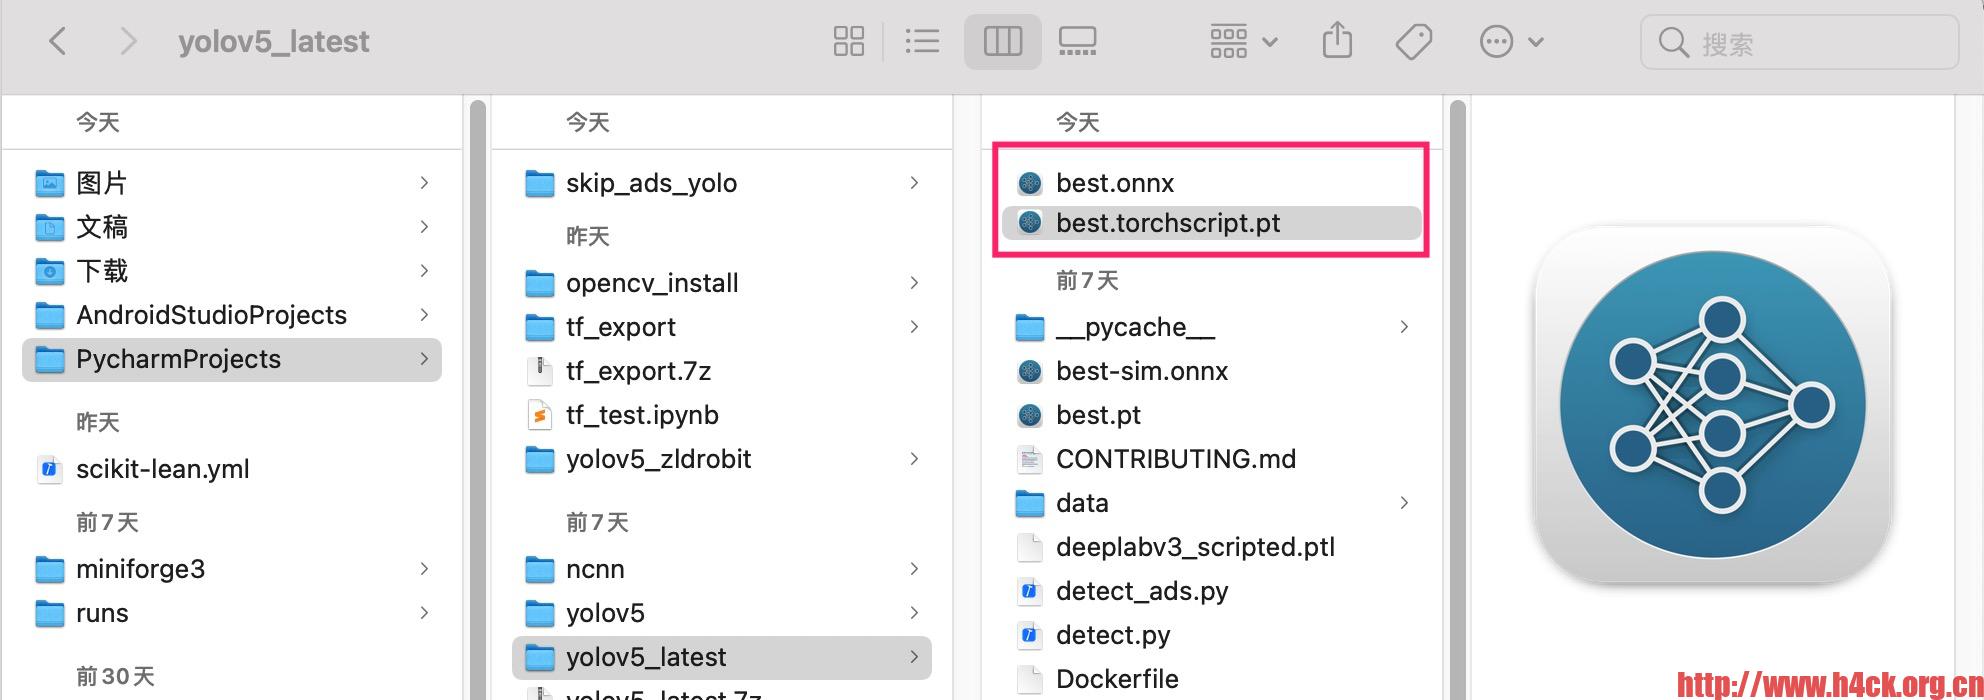
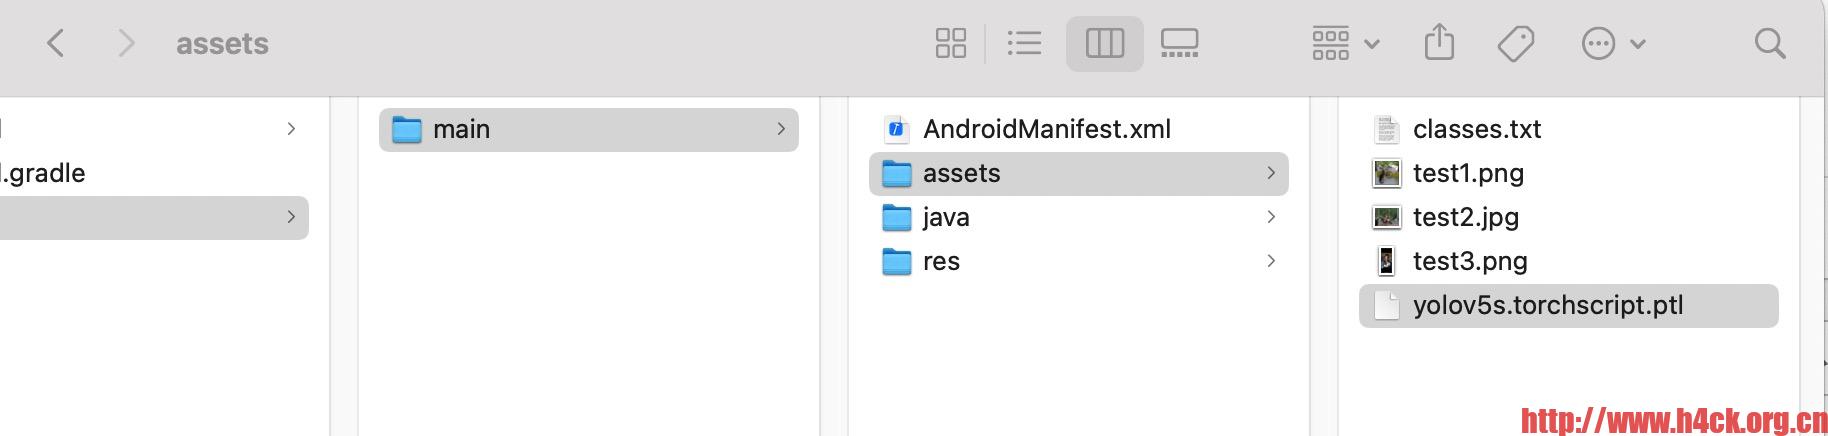
2.下载https://github.com/pytorch/android-demo-app/tree/master/ObjectDetection对应的android工程项目,将导出之后的best.torchscript.pt复制到安卓工程的assets目录下,名称修改为yolov5s.torchscript.ptl。
如果想保持原有的文件名则需要修改安卓工程中的Mainactivity.java中的如下代码:
try {
            mModule = LiteModuleLoader.load(MainActivity.assetFilePath(getApplicationContext(), "yolov5s.torchscript.ptl"));
            BufferedReader br = new BufferedReader(new InputStreamReader(getAssets().open("classes.txt")));
            String line;
            List<String> classes = new ArrayList<>();
            while ((line = br.readLine()) != null) {
                classes.add(line);
            }
            PrePostProcessor.mClasses = new String[classes.size()];
            classes.toArray(PrePostProcessor.mClasses);
        } catch (IOException e) {
            Log.e("Object Detection", "Error reading assets", e);
            finish();
        }
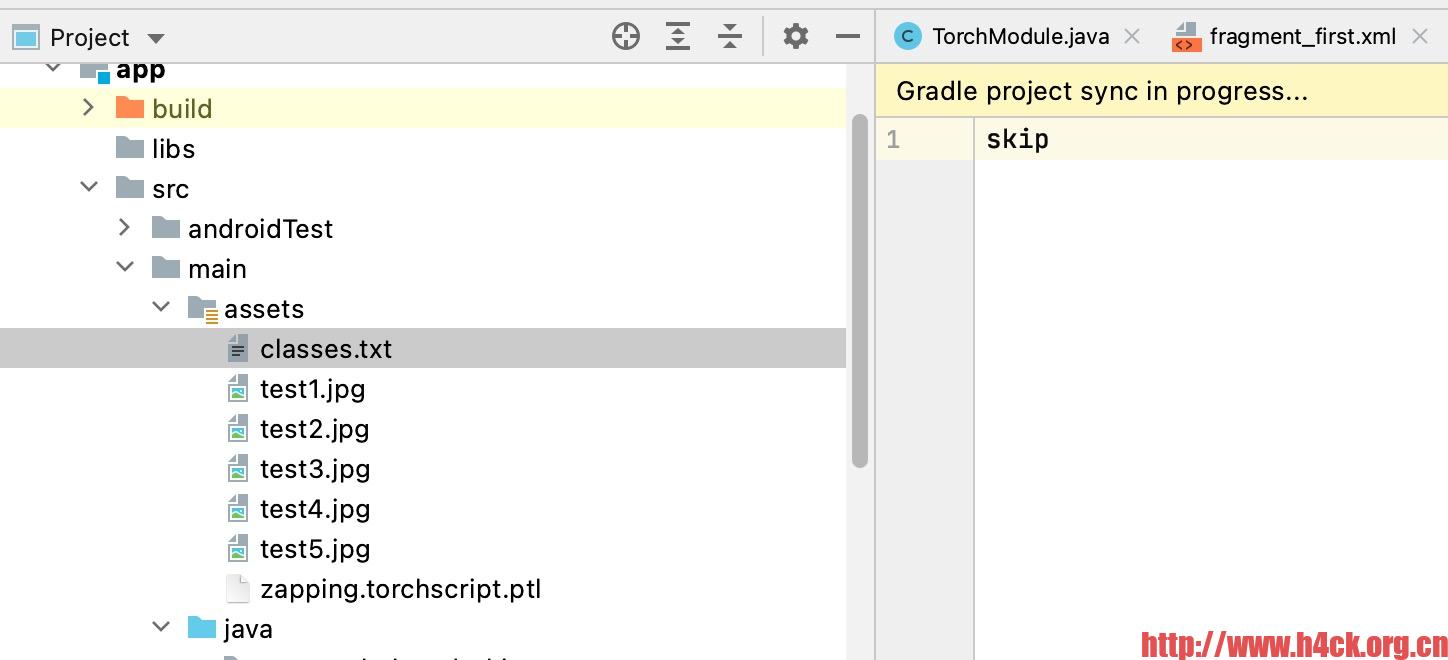
3.修改assets目录下的class.txt文件,将其中的分类名称改成自己的名称:
修改 PrePostProcessor.java中的mOutputColumn:
private static int mOutputColumn = 6; // left, top, right, bottom, score and 80 class probability
// 这里为left, top, right, bottom, score + 分类数量,因为是单分类所以是5+1=6 原来为5+80
如果要修改置信度可以修改下面的代码:
private static float mThreshold = 0.05f; // score above which a detection is generated
修改下面的计算代码:
static ArrayList<Result> outputsToNMSPredictions(float[] outputs, float imgScaleX, float imgScaleY, float ivScaleX, float ivScaleY, float startX, float startY) {
        ArrayList<Result> results = new ArrayList<>();
        for (int i = 0; i< mOutputRow; i++) {
            if (outputs[i* mOutputColumn +4] > mThreshold) {
                float x = outputs[i* mOutputColumn];
                float y = outputs[i* mOutputColumn +1];
                float w = outputs[i* mOutputColumn +2];
                float h = outputs[i* mOutputColumn +3];

                float left = imgScaleX * (x - w/2);
                float top = imgScaleY * (y - h/2);
                float right = imgScaleX * (x + w/2);
                float bottom = imgScaleY * (y + h/2);

                float max = outputs[i* mOutputColumn +5];
                int cls = 0;
                for (int j = 0; j < mOutputColumn -5; j++) {
                    if (outputs[i* mOutputColumn +5+j] > max) {
                        max = outputs[i* mOutputColumn +5+j];
                        cls = j;
                    }
                }

                Rect rect = new Rect((int)(startX+ivScaleX*left), (int)(startY+top*ivScaleY), (int)(startX+ivScaleX*right), (int)(startY+ivScaleY*bottom));
                Result result = new Result(cls, outputs[i*6+4], rect);// 修改i*后面的值,与mOutputColumn是一样的。
                results.add(result);
            }
        }
        return nonMaxSuppression(results, mNmsLimit, mThreshold);
    }
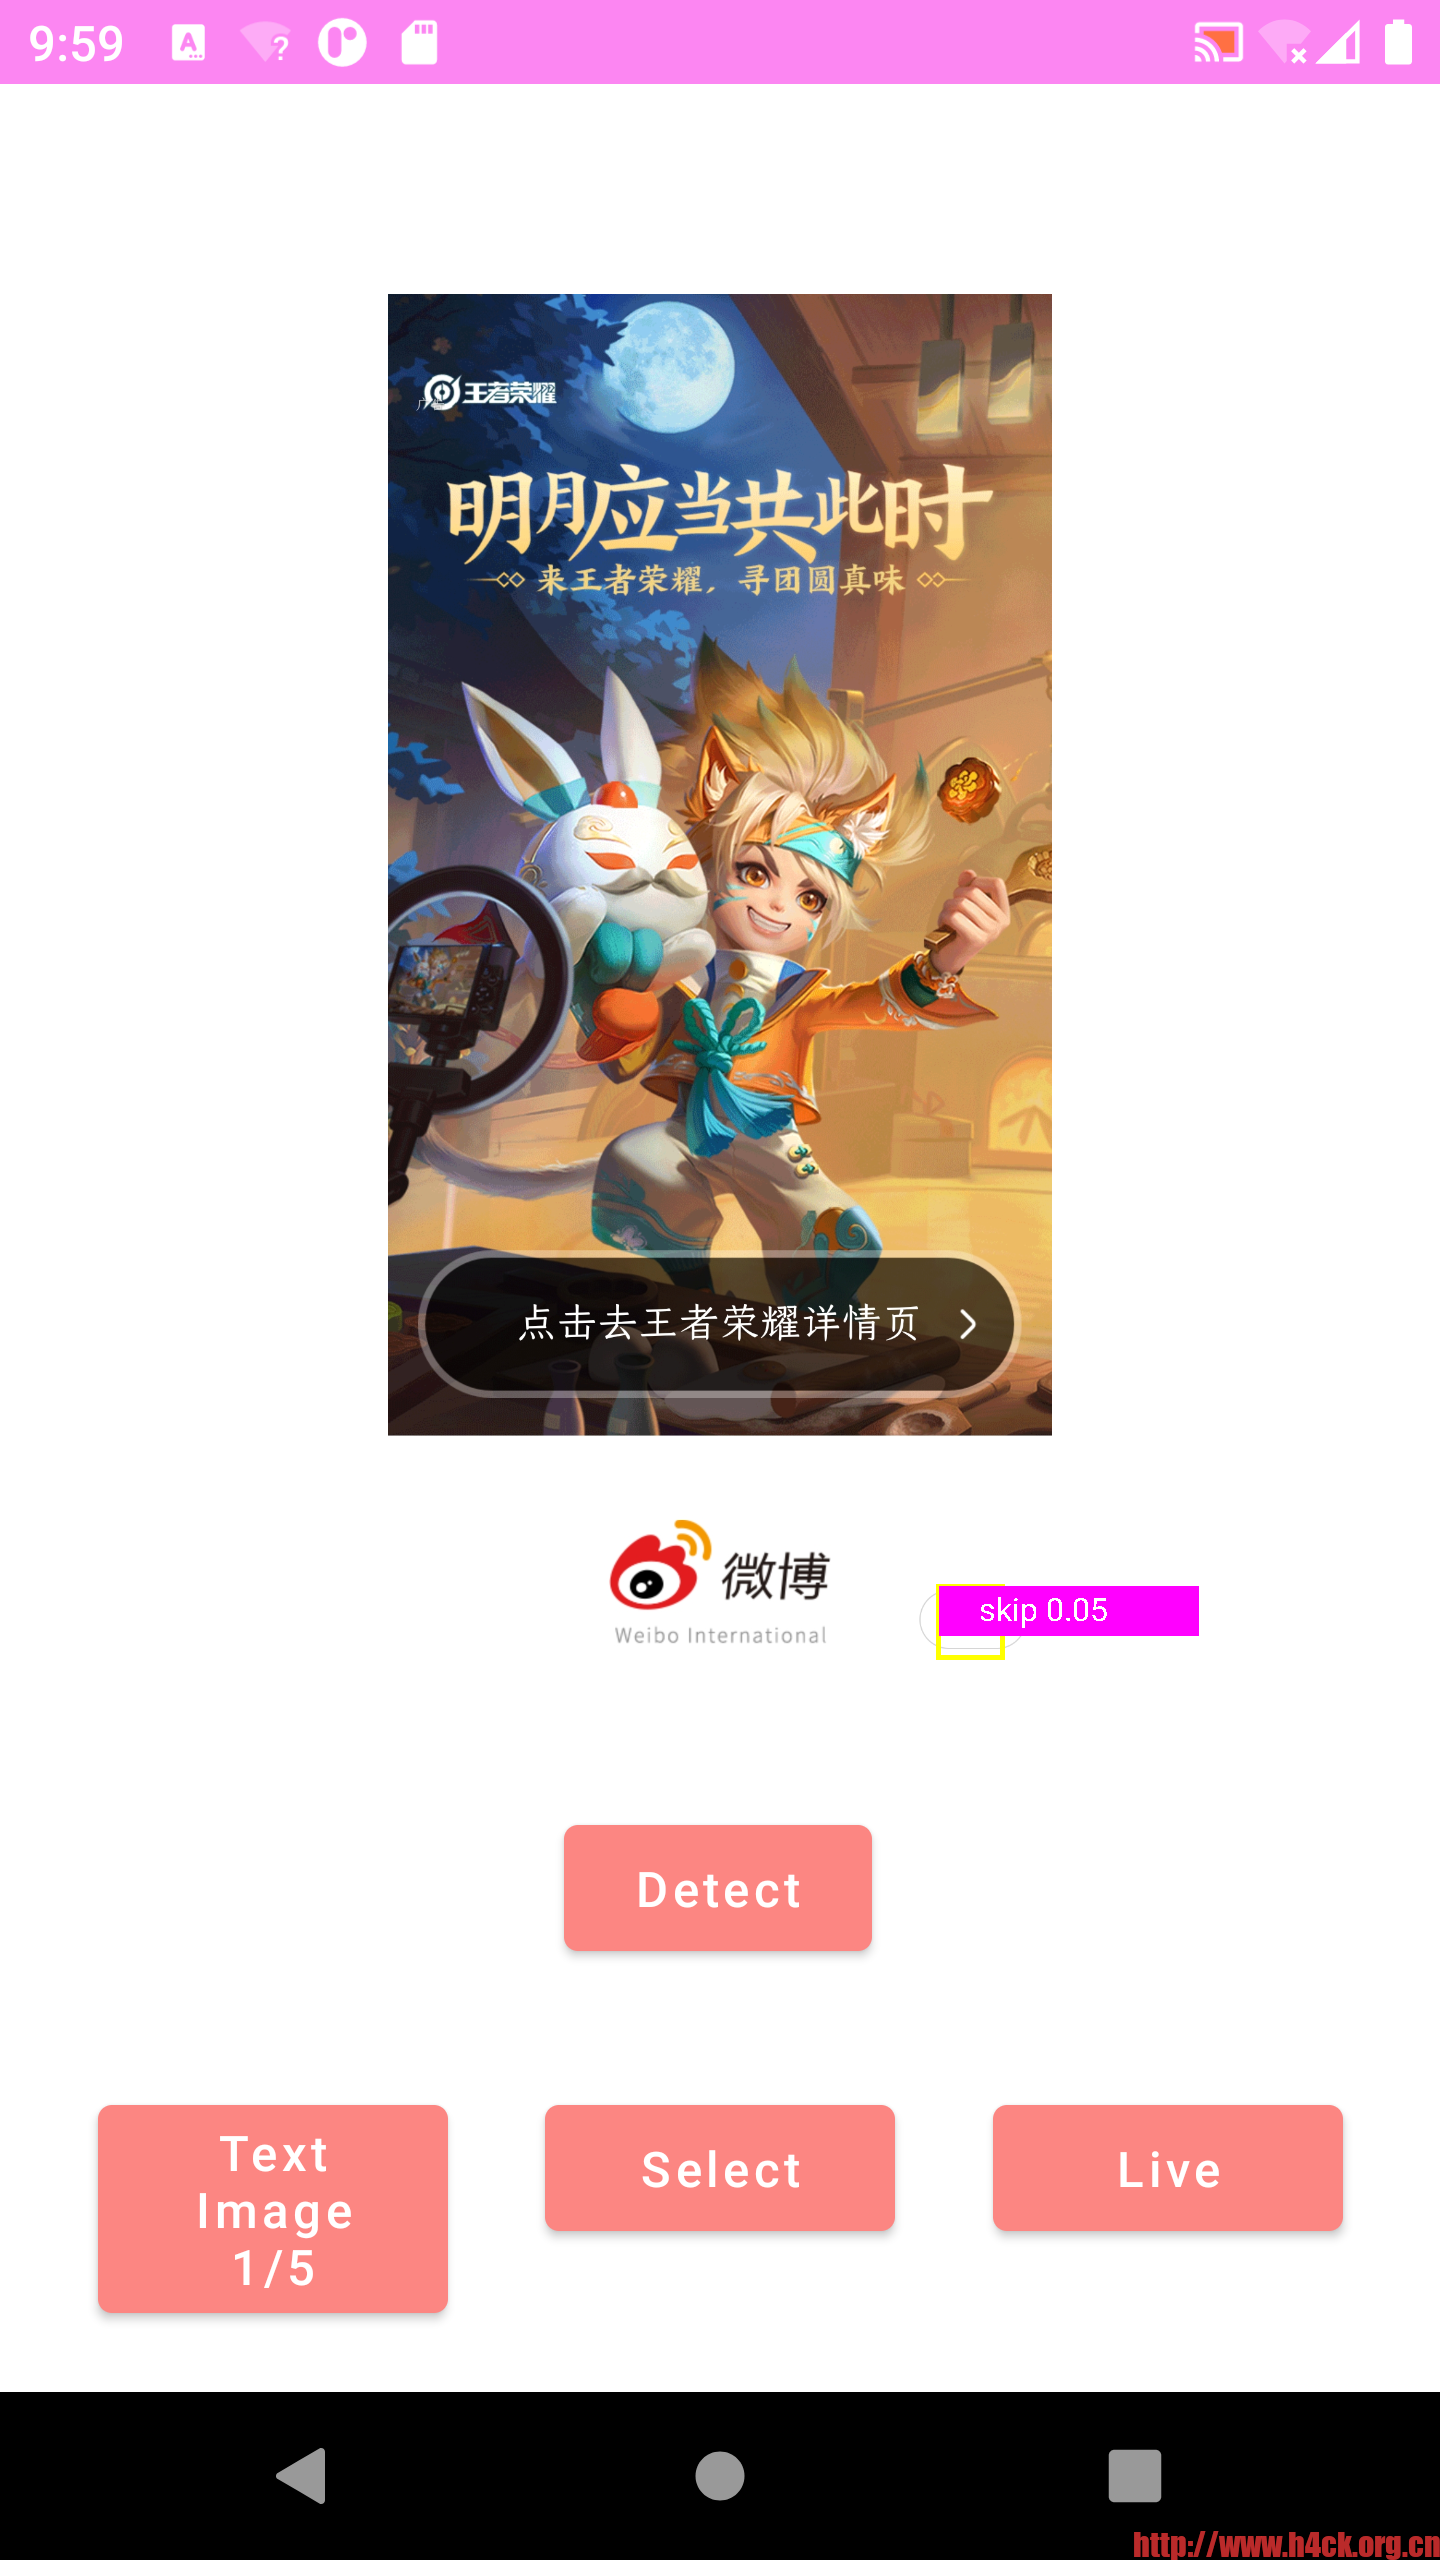
4.编译运行,到这里就可以在设备上运行检测了效果如下:
置信度只有0.05,这个是有问题的,因为直接通过python版本运行会发现置信度0.91:

这个状况是由于什么导致的目前不太清除,哪位大神知道怎么解决还望不吝赐教。
参考链接:
https://blog.csdn.net/djstavaV/article/details/118078013
https://github.com/pytorch/android-demo-app/tree/master/ObjectDetection
https://github.com/ultralytics/yolov5/issues/251
https://cdmana.com/2021/07/20210721095026166r.html